ACCOUNT MANAGEMENT - TWO FACTOR AUTHENTICATION (2FA)
You can manage two factor authentication (2FA) permissions for all your users from the “Authentication Settings (2FA)” section on the left-hand navigation.

Q Authentication Settings
From this page you can configure two factor authentications for each user before they access the control panel. There are 3 Options available to you.
No Two Factor Authentication:
The user will only be required to enter their username and password.
Per User Two Factor Authentication:
This allows the primary user to apply 2FA only to selected users or secondary users to enable 2FA.
Enforced Two Factor Authentication:
This requires every user to use 2FA.
Select how you want users to authenticate and how often within 24 hours you want a token submitted, then click submit.

You will be presented with a success page, users will now be forced to configure 2FA on there next login, or if you are the primary user, you can manage settings by clicking “Manage 2FA for main account user”.

Q Manage 2FA Settings for the primary user
Within the “Your details” section there will now be an “Authentication Settings” Section with several options.
Use Two Factor Authentication
Enable or Disable 2FA for this user. If the primary user has enforced 2FA you will not be able to disable 2FA.
Help on how to enable and disable 2FA can be found by visiting our Enable and Disable 2FA Guide
Two Factor Authentication Status
Identifier to advise if 2FA is setup, Users can “Setup Now” or “Reset” the 2FA Status.
- Help on how to Setup 2FA for the first time or after a reset can be found by visiting our Setup 2FA for first time use or if the authentication status has been reset Guide
- Help on how to reset 2FA can be found by visiting our Reset Two Factor Authentication Guide
Last Authenticated:
Information on the last time 2FA was authenticated.
Temporary Pass Active Until:
If users have a temporary pass configured the date this will expire will be displayed.
Set New Temporary Pass:
Users can set a temporary pass on 2FA, (i.e., they won’t need to use 2FA until this date) this should be used if users have lost their mobile device and need control panel access, if a temporary pass is set it can also be cleared.
Help on how to set and clear a temporary pass can be found by visiting our Set and Clear a Temporary Pass Guide

Q Manage 2FA Settings for an additional user when logged in as the Primary User
Within the “User Access” section there will now be an “Authentication Settings Section” with several options.
Use Two Factor Authentication
Enable or Disable 2FA for this user. If the primary user has enforced 2FA you will not be able to disable 2FA.
Help on how to enable and disable 2FA can be found by visiting our Enable and Disable 2FA Guide
Two Factor Authentication Status
Identifier to advise if 2FA is setup, other users can set 2FA up on their next login.
- Help on how to Setup 2FA for the first time or after a reset can be found by visiting our Setup 2FA for first time use or if the authentication status has been reset Guide
- Help on how to reset 2FA can be found by visiting our Reset Two Factor Authentication Guide
Last Authenticated:
Information on the last time 2FA was authenticated.
Temporary Pass Active Until:
If users have a temporary pass configured the date this will expire will be displayed.
Set New Temporary Pass:
Users can set a temporary pass on 2FA, (i.e., they won’t need to use 2FA until this date) this should be used if users have lost their mobile device and need control panel access, if a temporary pass is set it can also be cleared.
Help on how to set and clear a temporary pass can be found by visiting our Set and Clear a Temporary Pass Guide

Q Manage 2FA Settings for an additional user when logged in as the additional user
Within the “Your details” section there will now be an “Authentication Settings Section” with several options.
Use Two Factor Authentication
Enable or Disable 2FA for this user. If the primary user has enforced 2FA you will not be able to disable 2FA.
Help on how to enable and disable 2FA can be found by visiting our Enable and Disable 2FA Guide
Two Factor Authentication Status
Identifier to advise if 2FA is setup, Users can “Setup Now” or “Reset” the 2FA Status.
- Help on how to Setup 2FA for the first time or after a reset can be found by visiting our Setup 2FA for first time use or if the authentication status has been reset Guide
- Help on how to reset 2FA can be found by visiting our Reset Two Factor Authentication Guide
Last Authenticated:
Information on the last time 2FA was authenticated.
Temporary Pass Active Until:
If users have a temporary pass configured the date this will expire will be displayed.
Set New Temporary Pass:
Users can set a temporary pass on 2FA, (i.e., they won’t need to use 2FA until this date) this should be used if users have lost their mobile device and need control panel access, if a temporary pass is set it can also be cleared.
Help on how to set and clear a temporary pass can be found by visiting our Set and Clear a Temporary Pass Guide

Q Setup 2FA for first time use or if the authentication status has been reset
If you did not click “Setup Now” after 2FA was enabled or reset, you will be prompted to set up 2FA on your next login.
Users will need an application on their mobile device to use 2FA.
Android
Windows Phone
Scan the QR code on the 2FA setup page using your authentication device.

 Authy
Authy
(I) Click “Add Account”

(II) Click “Scan QR Code”

(III) Capture the QR code from the Easyspace Control Panel using the Authy App

(IV) Pick a logo and a colour then click “Continue”

(V) Give your account a nick name (this will be set as “customernumber_Easyspace” by default) then click “Save

 Google Authenticator
(I) Click the “+” symbol

(II) Click “Scan a QR code”

(III) Capture the QR code from the Easyspace Control Panel using the Google Authenticator app

 Microsoft Authenticator
(I) Click the “+” symbol

(II) Click “Other (Google, Facebook, etc)

(III) Capture the QR code from the Easyspace Control Panel using the Microsoft Authenticator app

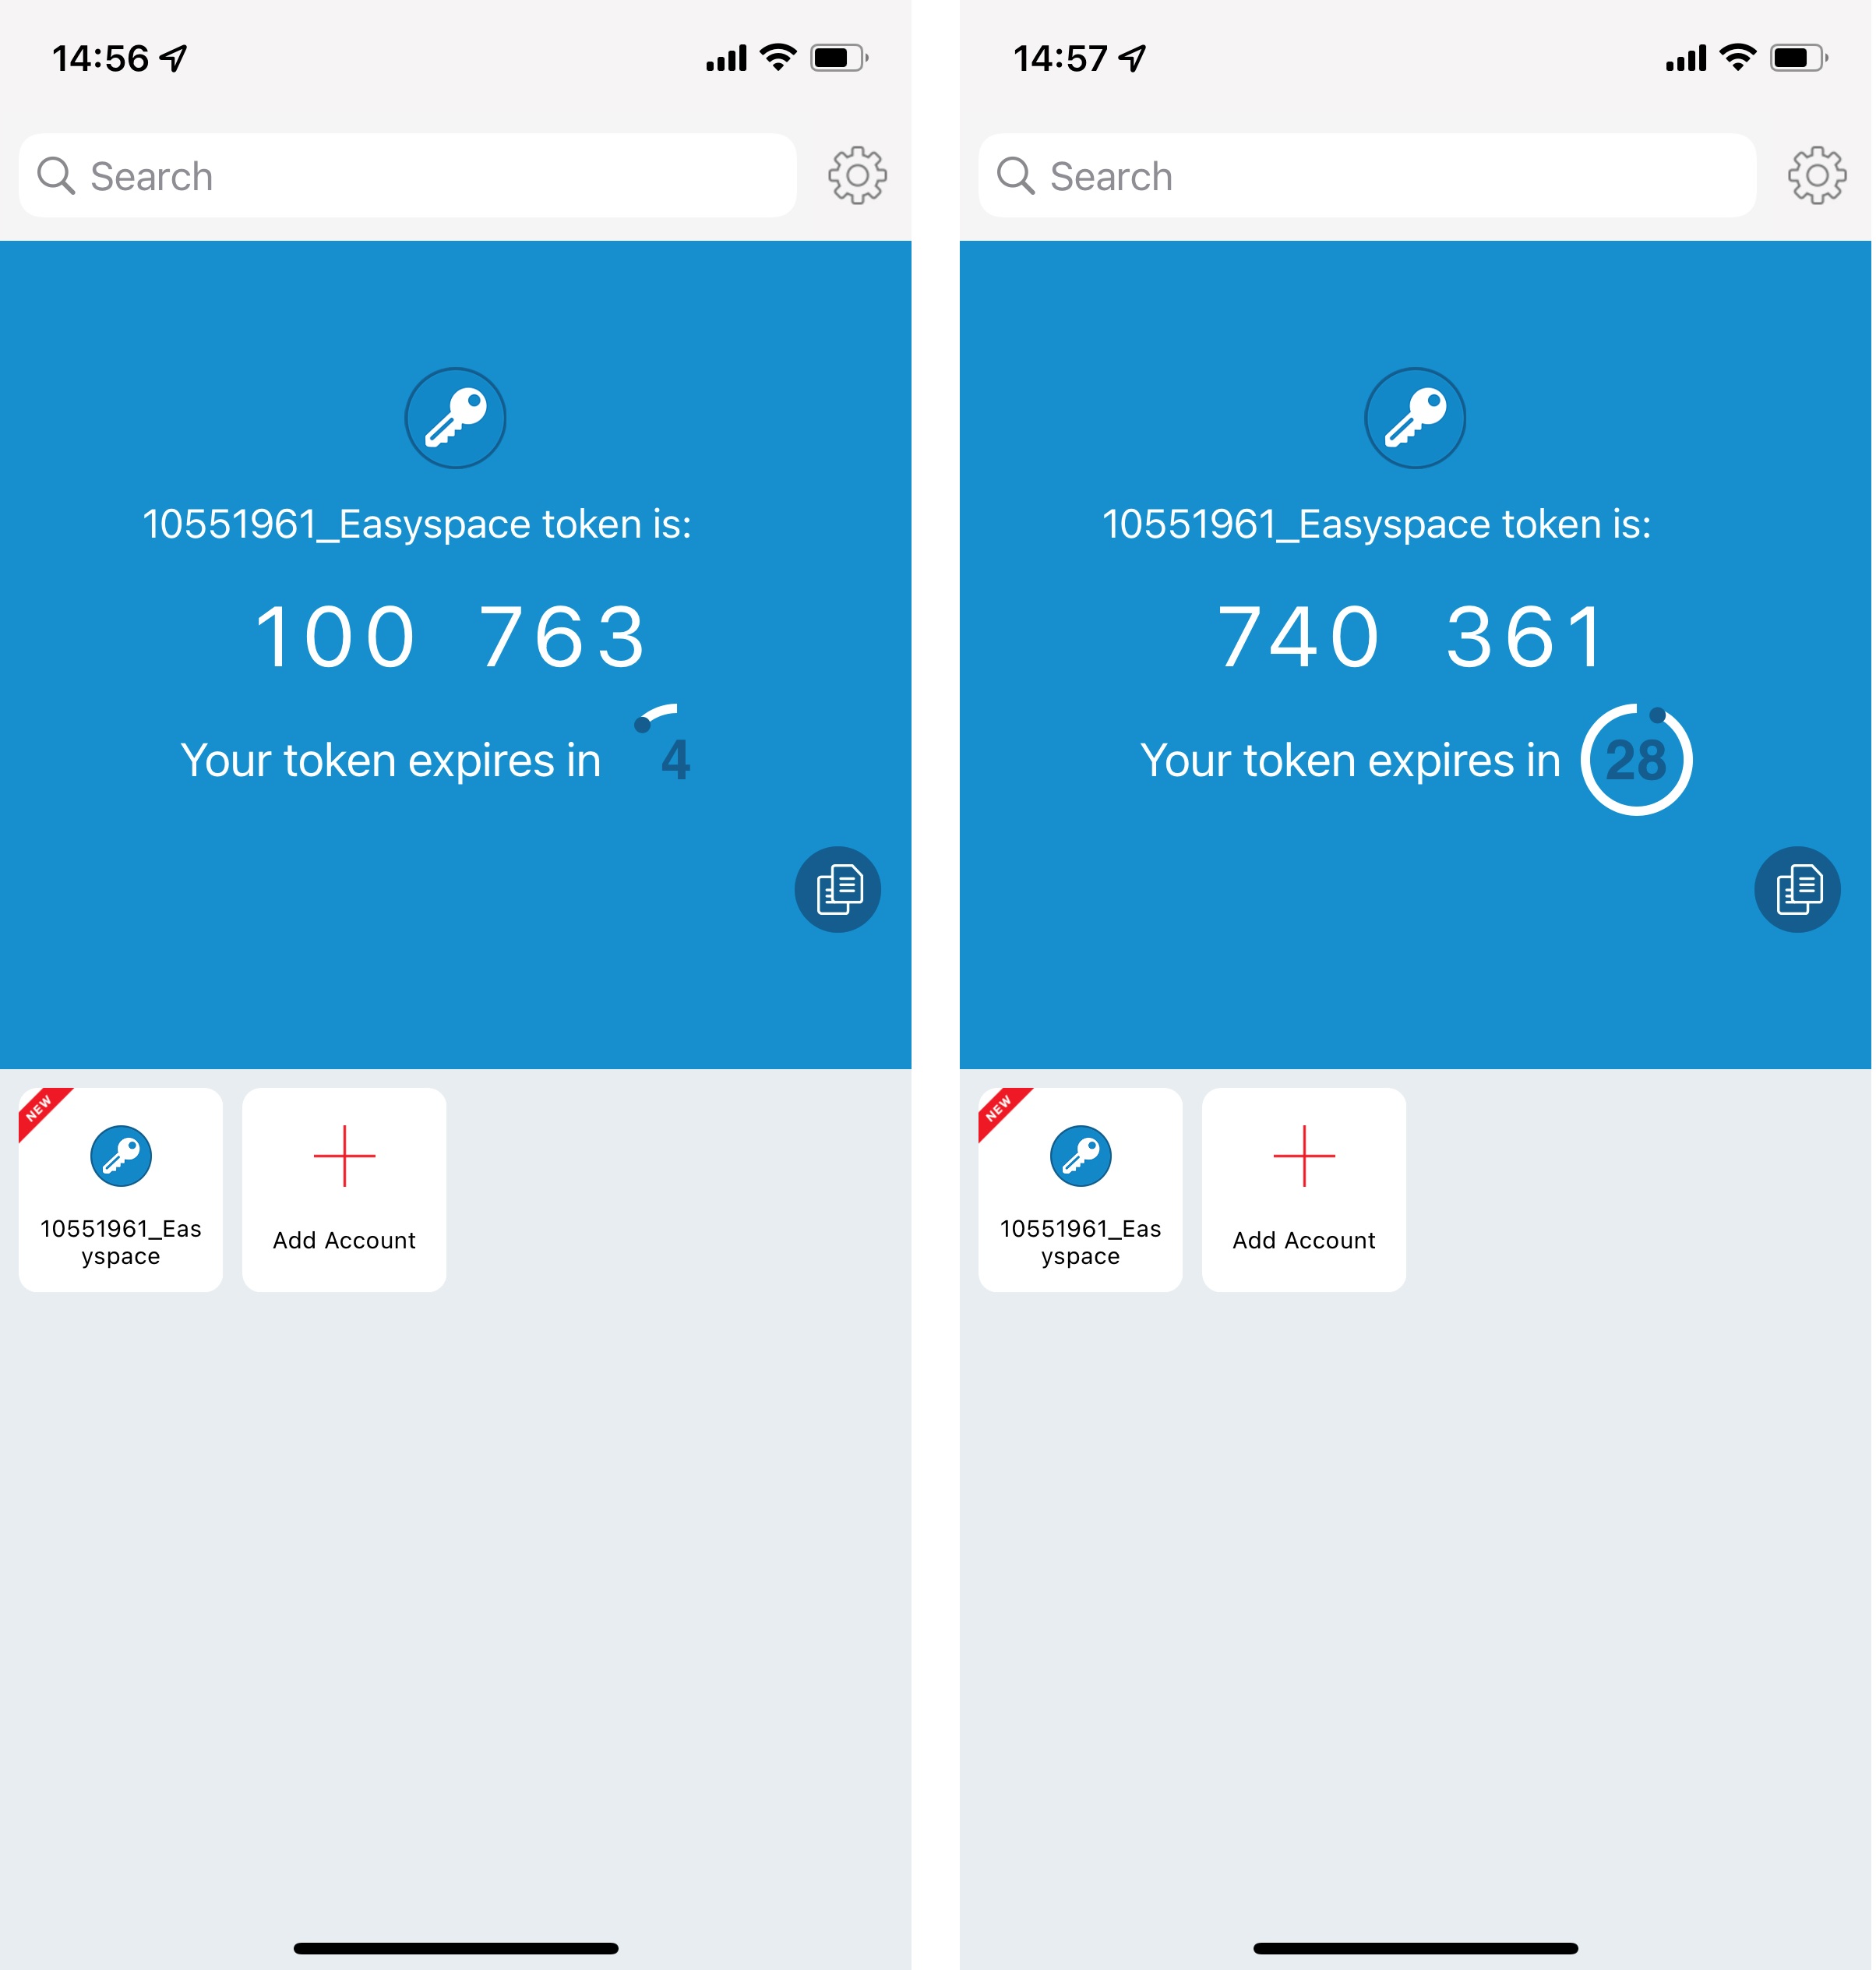
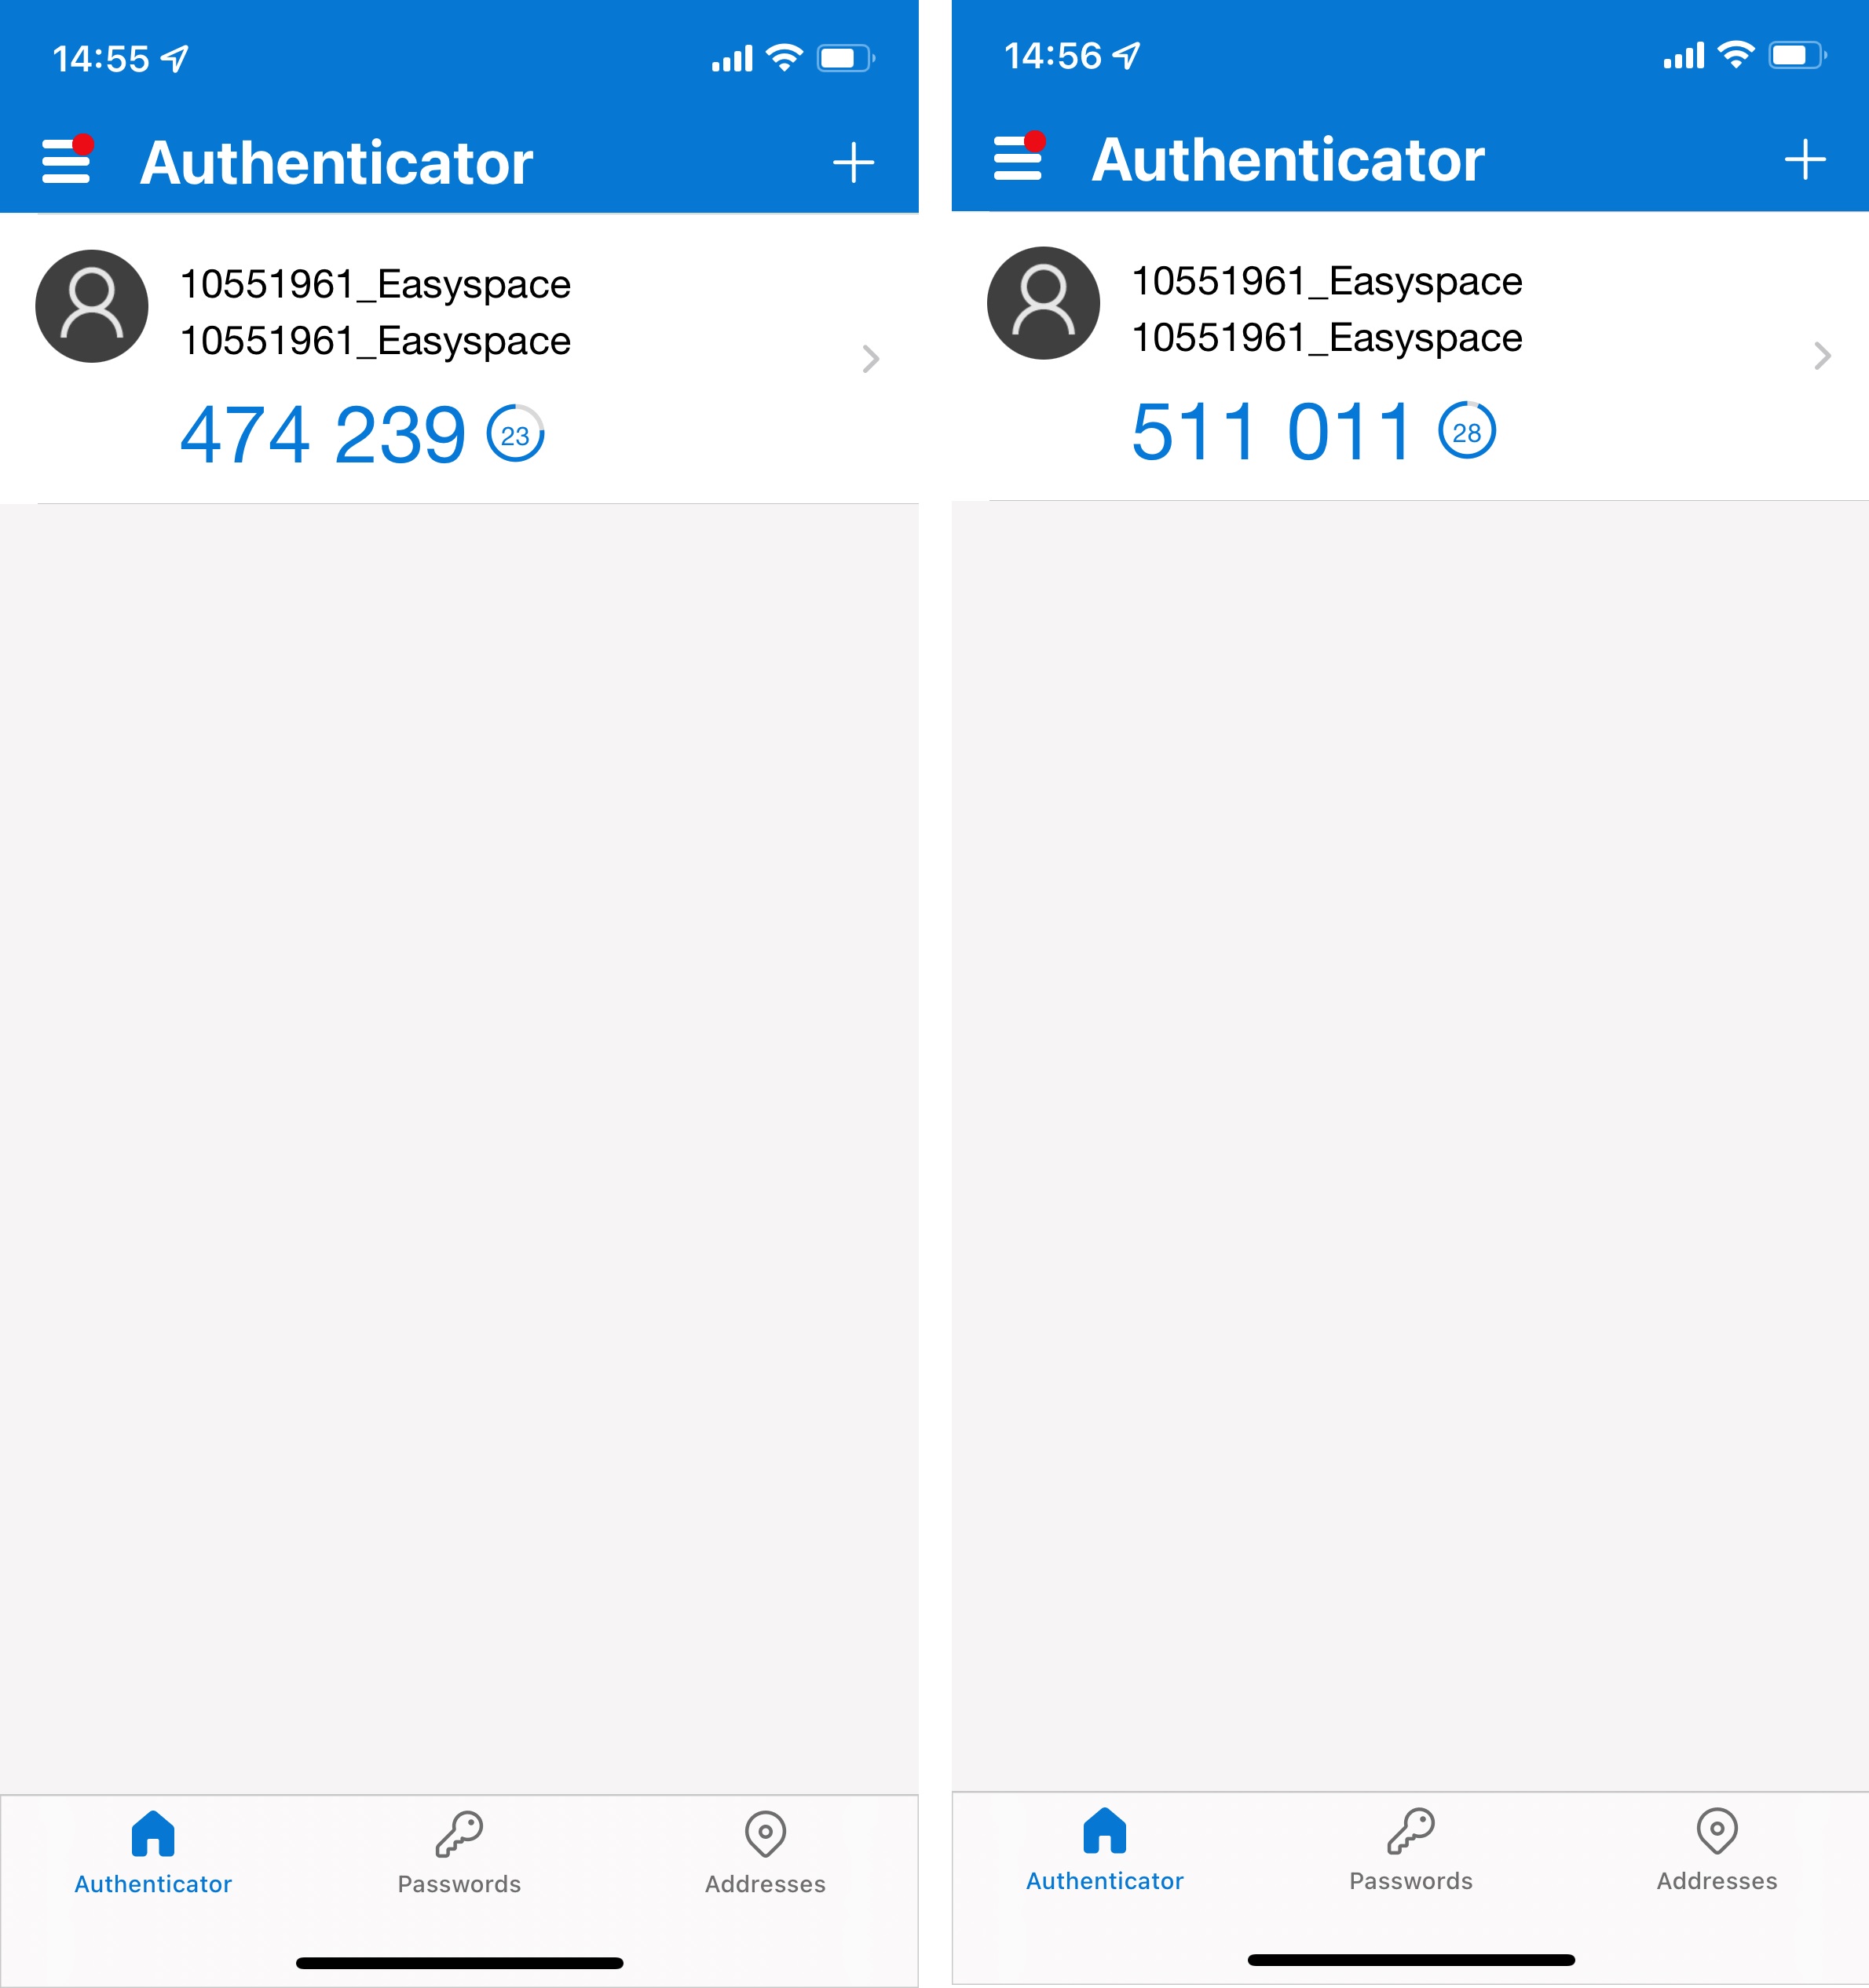
From your authentication device you will need to enter 2 consecutive tokens to the 2FA Setup Page, then click Submit.
 Authy
Authy
(I) Open the Authy App on your mobile device and click the account with the Easyspace identifier for your account. Enter this on the Easyspace Control Panel, wait for the token to refresh and then enter that on the Easyspace control panel

(II) Click “Setup”

 Google Authenticator
(I) Open the Google Authenticator App on your mobile device and look for the account with the Easyspace identifier for your account. Enter this on the Easyspace Control Panel, wait for the token to refresh and then enter that on the Easyspace control panel

(II) Click “Setup”

 Microsoft Authenticator
(I) Open the Microsoft Authenticator App on your mobile device and look for the account with the Easyspace identifier for your account. Enter this on the Easyspace Control Panel, wait for the token to refresh and then enter that on the Easyspace control panel

(II) Click “Setup”

Once both tokens have been submitted you will be presented with a success screen, you can test 2FA has been set up correctly by logging out and back in or you can continue to the dashboard

Q Log into the control panel once 2FA has been setup
Log into the Easyspace control panel using your username and password.
You will be prompted to add a 2FA token from you authentication device.
 Authy
Authy
Open the Authy App on your mobile device and click the account with the Easyspace identifier for your account. Enter this on the Easyspace Control Panel and click “Authenticate & enter Control panel”


 Google Authenticator
Open the Google Authenticator App on your mobile device and click the account with the Easyspace identifier for your account. Enter this on the Easyspace Control Panel and click “Authenticate & enter Control panel”


 Microsoft Authenticator
Open the Authy App on your mobile device and click the account with the Easyspace identifier for your account. Enter this on the Easyspace Control Panel and click “Authenticate & enter Control panel”


If your token is accepted access to the control panel will be granted.
Q Enable and Disable 2FA
Users can enable and disable 2FA using the steps below, Users should note if the primary user has enforced 2FA you cannot disable 2FA on login.
Check the box beside “Use Two Factor Authentication” to enable 2FA.

Uncheck the box beside “Use Two Factor Authentication” to disable 2FA.

Q Reset Two Factor Authentication
Users may need to reset the 2FA token if they have a new mobile or authentication device.
Click on “Reset Two Factor Authentication”.

On their next login users will be prompted to setup a new token to use 2FA within the Easyspace control panel. If you are resetting 2FA your own user, setup a new token by clicking “Setup Now”

Help on how to set up a new token can be found by visiting our Setup 2FA for first time use or if the authentication status has been reset Guide

Q Set and Clear a Temporary Pass
Users may need to set a temporary pass if they have lost their mobile device and need control panel access.
Set the date you want the temporary pass to expire.

The date the temporary pass has been set until will be displayed.

To clear a temporary pass, click “Clear Temporary Pass”.


