EMAIL FILTER
Customers that access webmail via http://webmail.iomartcloud.com or http://www.mybusinessmail.co.uk should manage their mail filter via the webmail on a per mailbox basis. The information supplied below is used to configure your mail filter on a per domain basis via the Net intelligence Mail Filter accessible from your control panel.
You can access your mail filter form the Anti- Spam and Security section on the "left hand" navigation.

To manage your mailfilter click "manage" beside the domain you want to manage.
If you are on a trial version of the mailfilter you can upgrade or cancel by clicking "Upgrade" or "Cancel" as appropriate.

Q Mailfilter interface
The Mail Filter Interface gives a full overview & statistics about any email that has been received by the mail filter, Additionally, it allows you to vie Quarantine and manage how your email is processed.

When navigating within the "Tools and Settings" Section you can navigate back to the main screen by clicking "AntiSpam Management"

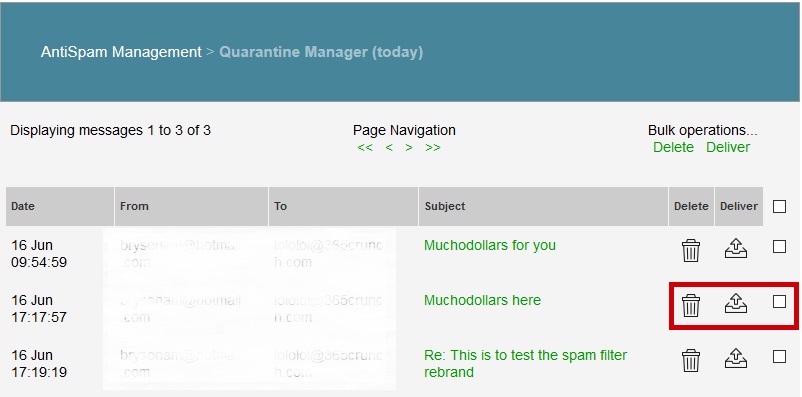
Q View & manage your quarantined email
Decide what period you want to view quarantine over by clicking "Today", "Week" or "All"

Select the mail you wish to manage by checking the box beside it then click "Delete" or Deliver"
Q Add addresses or domains to your white list
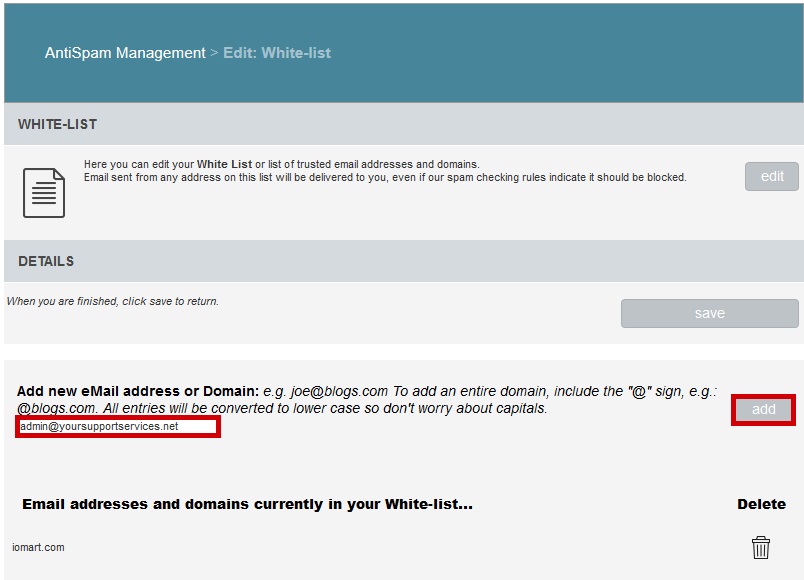
Select "View" beside "Manage Your White List" under the "Tools & Settings Header"

Enter a domain or email address you want to be added to your white list ad click "Add"
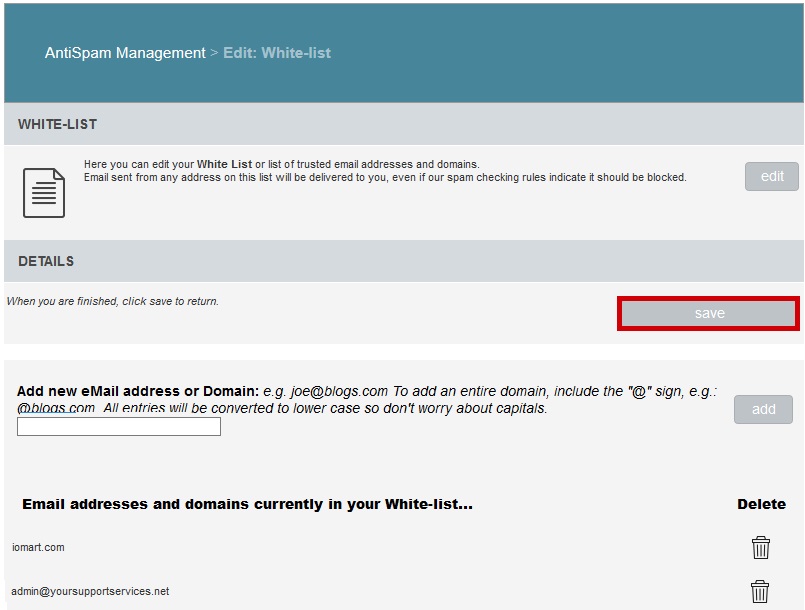
When you are finished adding domains or email addresses click "Save"
Q Deleting a domain or email address from your white list
Select "View" beside "Manage Your White List" under the "Tools & Settings Header"

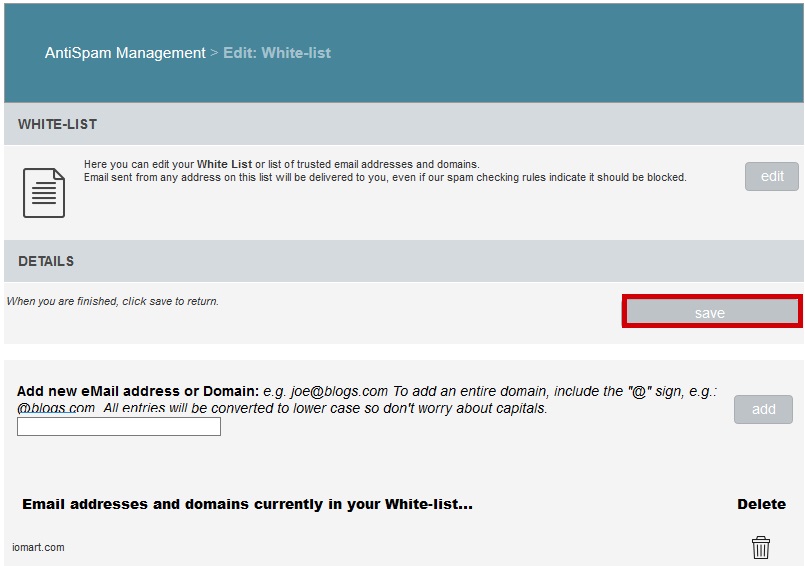
Select "Delete" beside the email or address you wish to delete

When you are finished adding domains or email addresses click "Save"
Q Add addresses or domains to your black list
Select "View" beside "Manage Your Black List" under the "Tools & Settings Header"

Enter a domain or email address you want to be added to your black list ad click "Add"

When you are finished adding domains or email addresses click "Save"
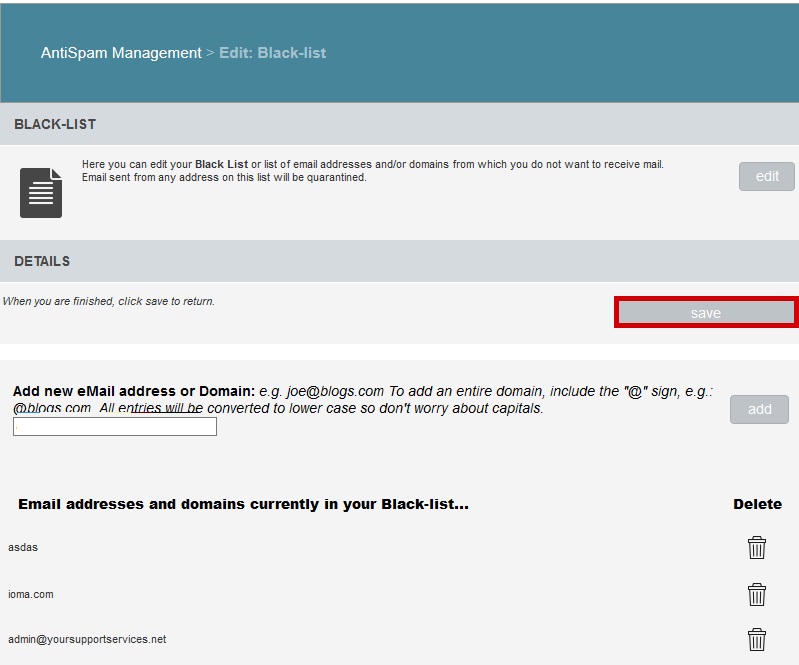
Q Deleting a domain or email address from your black list
Select "View" beside "Manage Your Black List" under the "Tools & Settings Header"

Select "Delete" beside the email or address you wish to delete
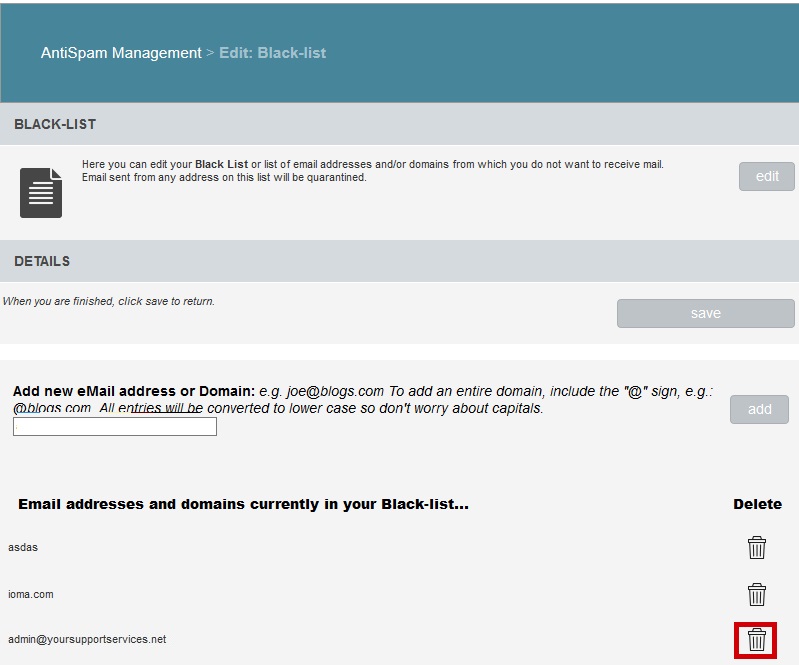
When you are finished adding domains or email addresses click "Save"
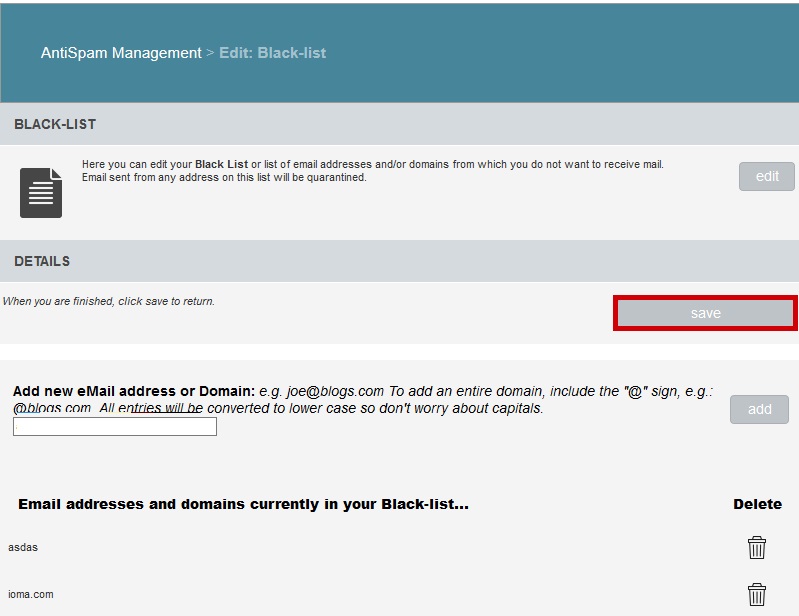
Q Add a word or phrase to your monitored list
Select "View" beside "Manage Your Monitored Phrases" under the "Tools & Settings Header"
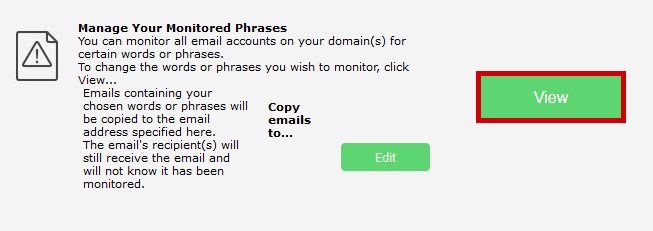
Enter words or phrases you wish to be monitored and click "add"
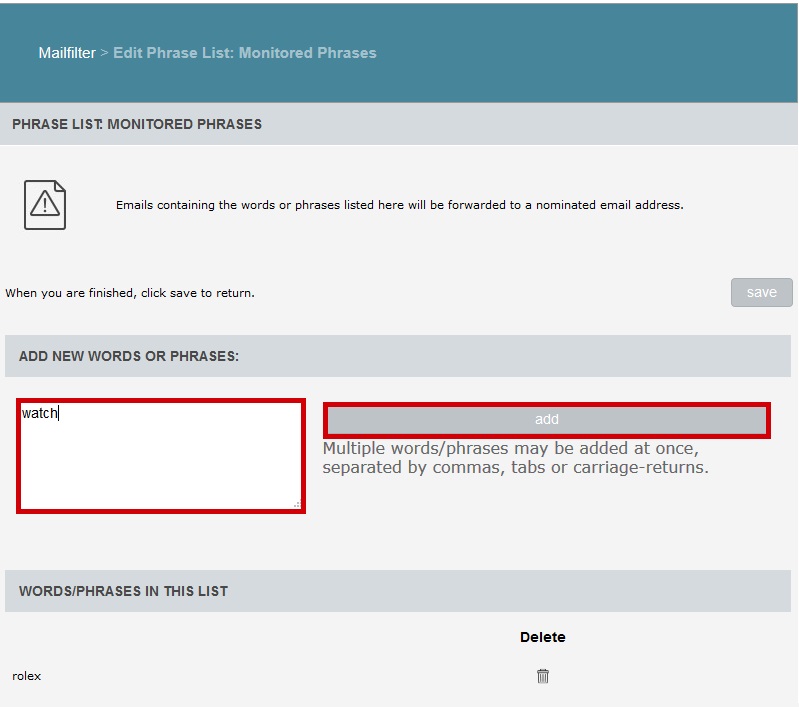
Click Save
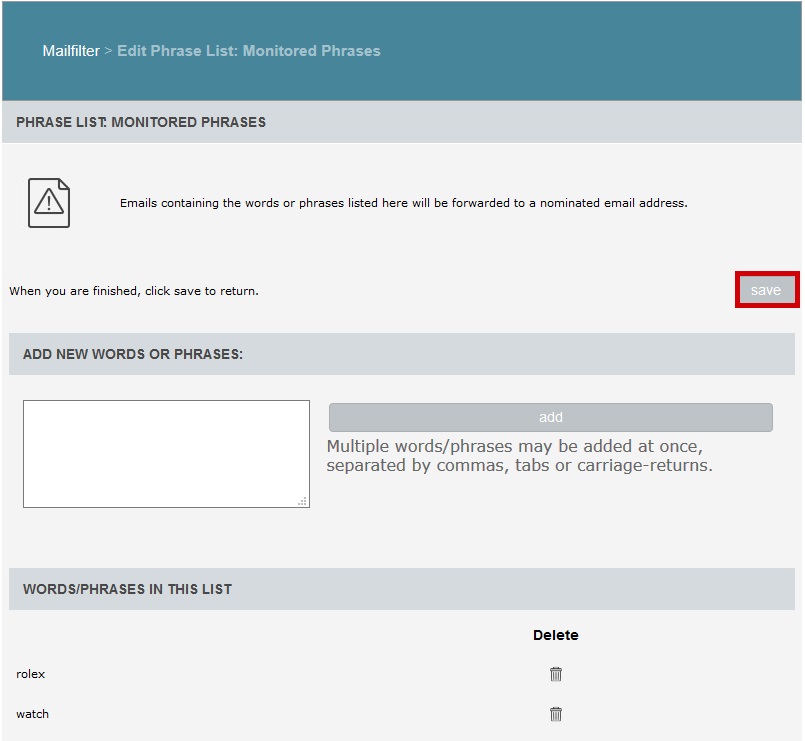
Q Delete a word or phrase from your monitored list
Select "View" beside "Manage Your Monitored Phrases" under the "Tools & Settings Header"

Select "Delete" beside the word or phrase you wish to remove from your monitored list
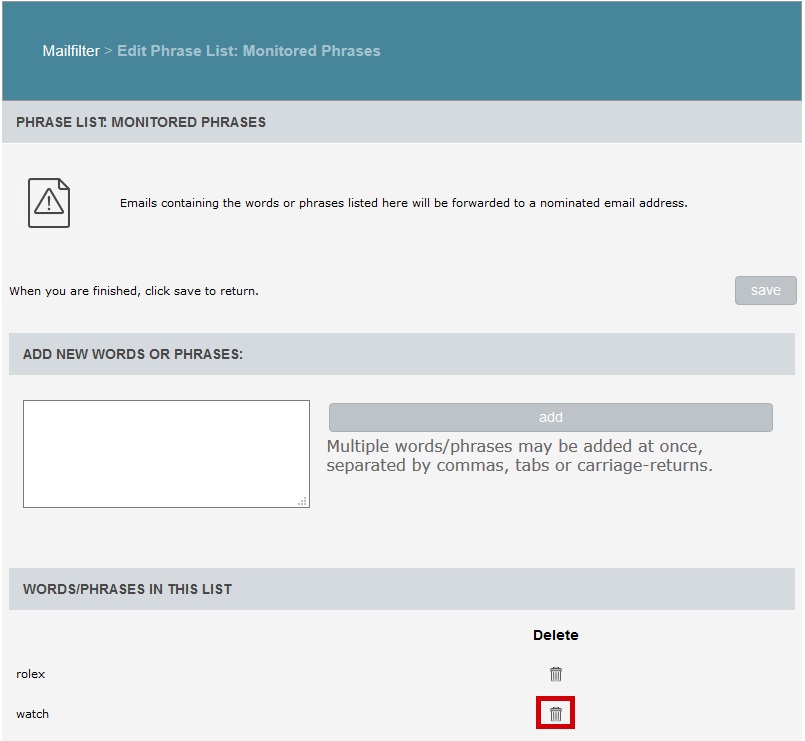
Click "Save"
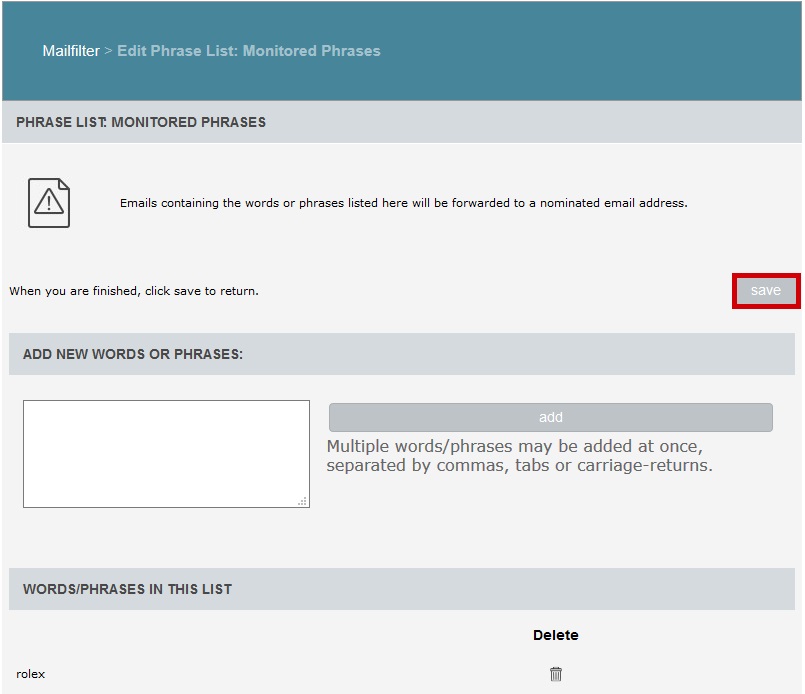
Q Copy emails to another address that contain monitored words or phrases
Click "Edit" under "Manage Your Monitored Phrases" under the "Tools & Settings Header"

Enter an email address and click "Save"

Q Stop copying emails to another address that contain monitored words or phrases
Click "Edit" under "Manage Your Monitored Phrases" under the "Tools & Settings Header"

Remove the address and click "save"

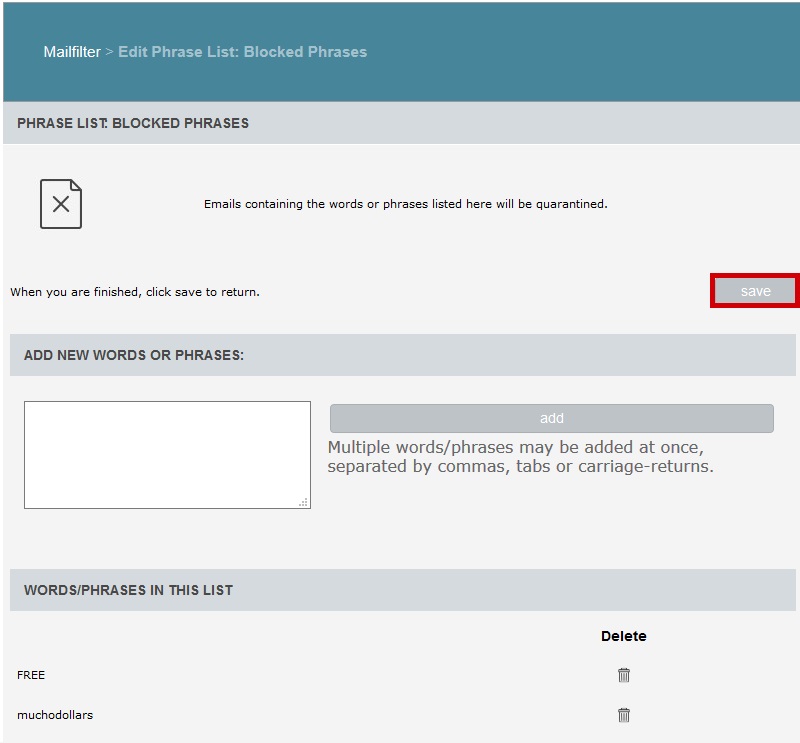
Q Add a word or phrase to your blocked list
Click "view" beside "Manage Your Blocked Phrases" under the "Tools & Settings Header"

Enter words or phrases you wish to be blocked and click "add"

Click "Save"
Q Delete a word or phrase from your blocked list
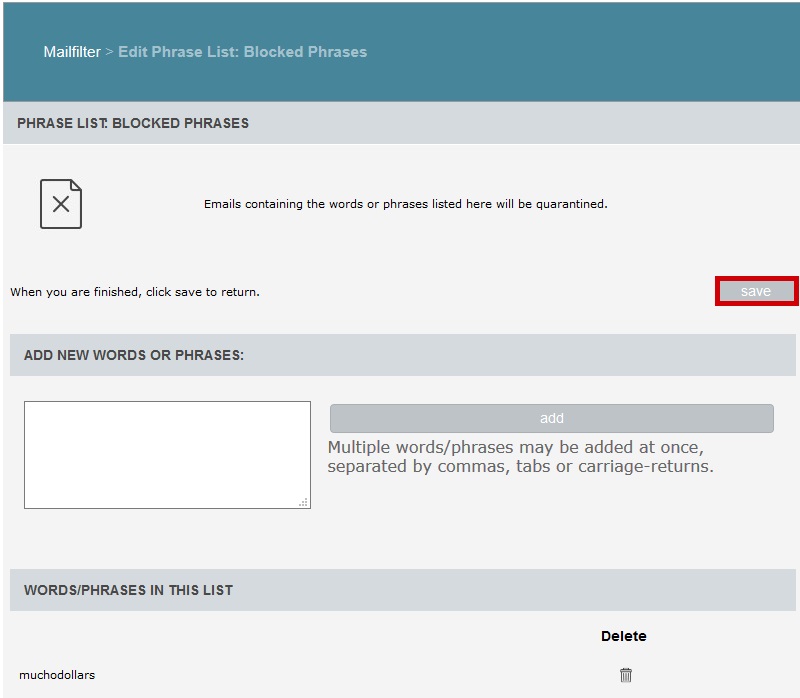
Click "view" beside "Manage Your Blocked Phrases" under the "Tools & Settings Header"

Click "Delete" beside the word or phrase you want to delete

Click "Save"
Q View Settings
Click "setup" beside "View your current configuration settings" under the "Tools & Settings Header"

You will be presented with an overview of how your mail filter is configured

